
There’s good and bad news when it comes to splinters. The good news is that they’re not usually a cause for immediate concern. You have time and options regarding how to proceed.
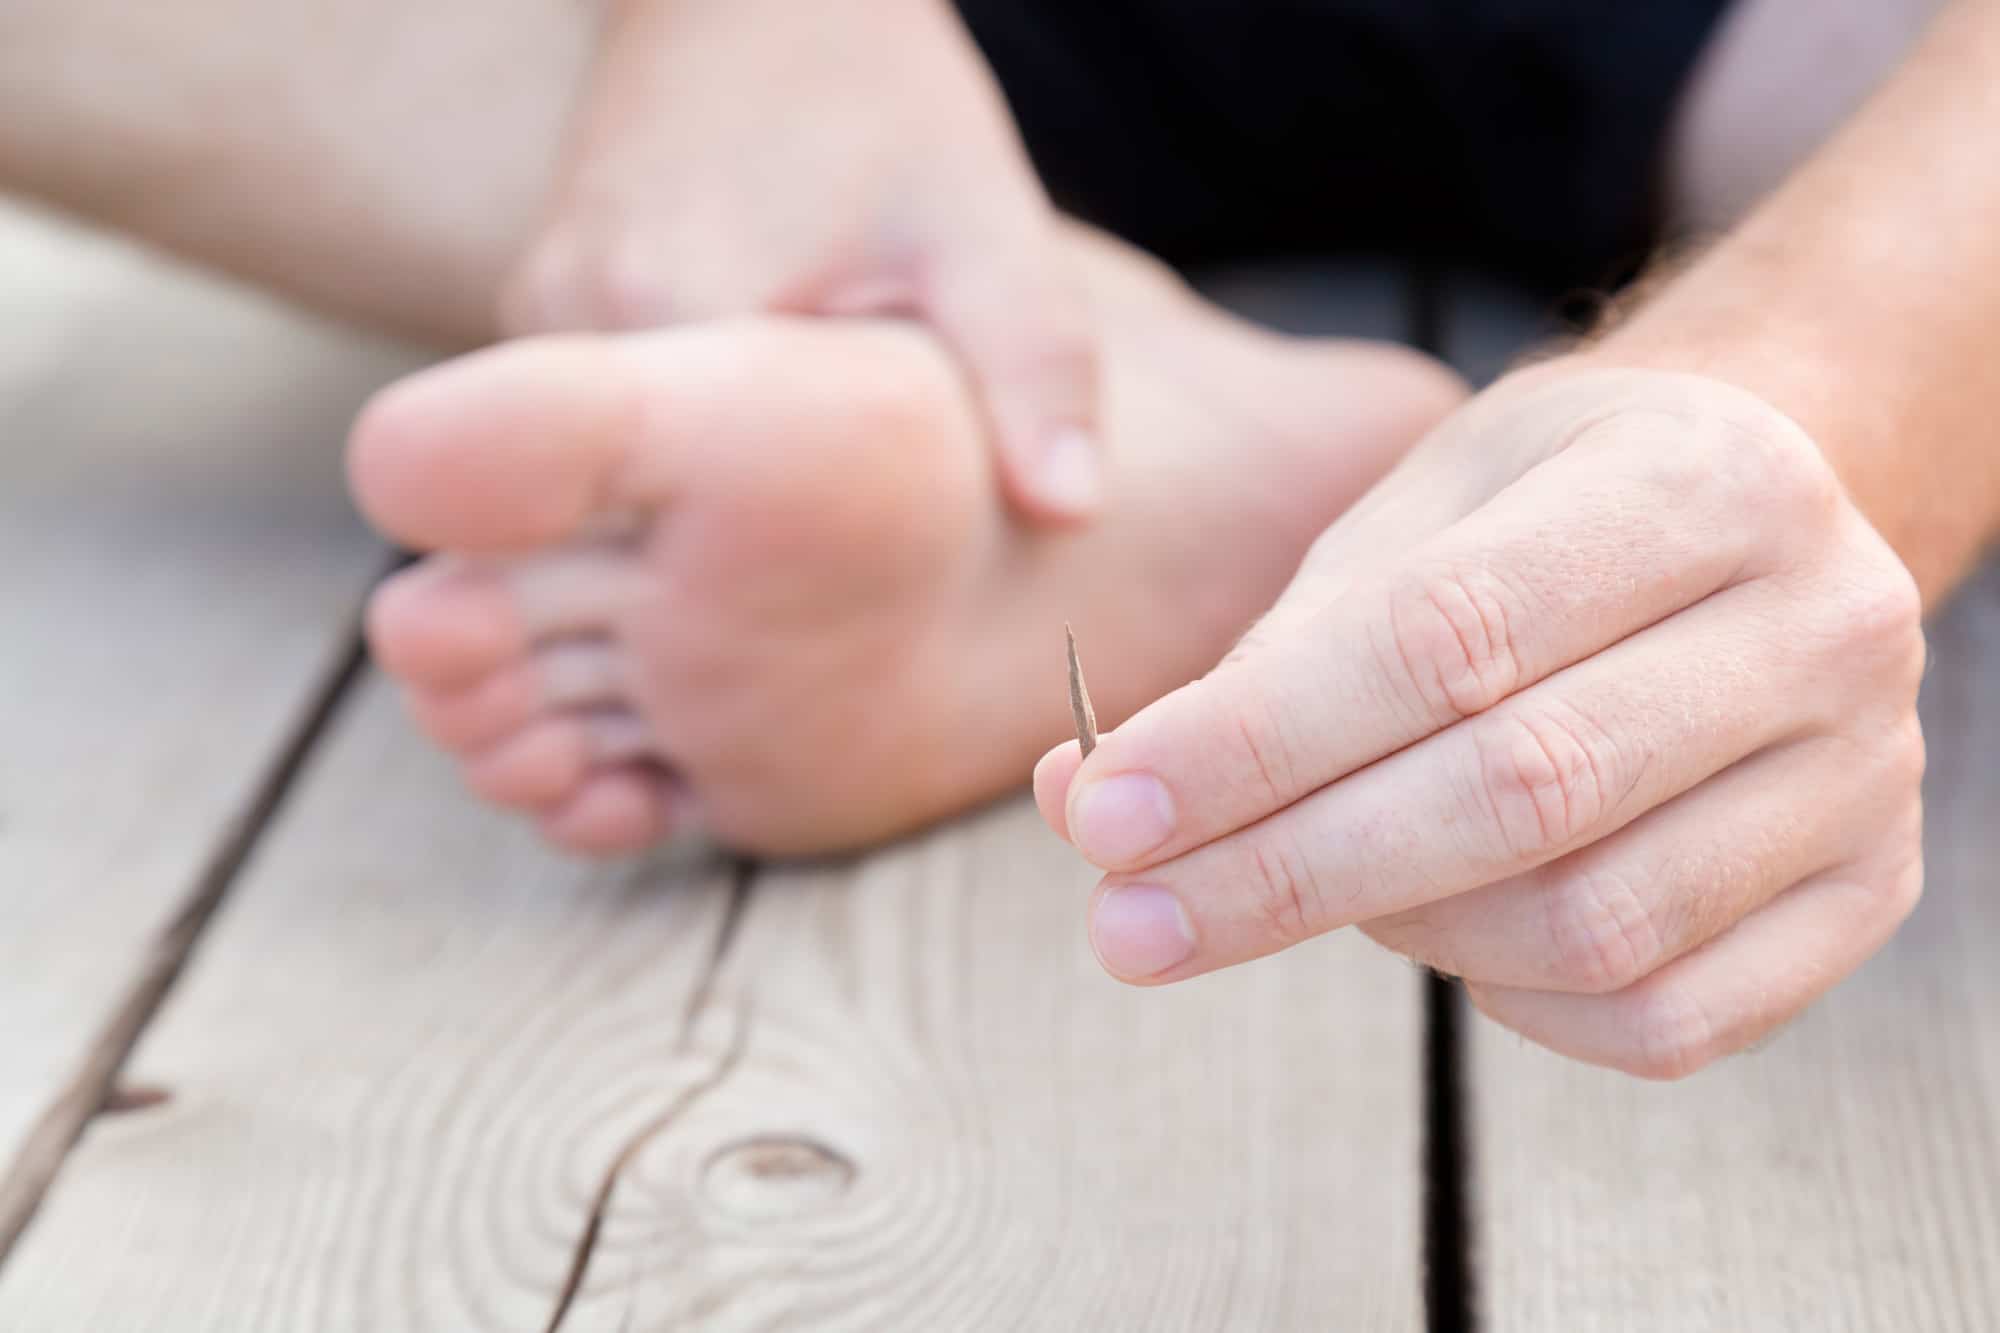
The bad news is that anyone is at risk of getting splinters anytime. Most splinters are wood shards that come from hiking, camping, or woodworking. Other splinter culprits are thorns, fishing equipment, and boat docks.
No matter your case, deep splinter removal is a process everyone should know. Read on to discover the best way to remove a splinter.
Deep Splinter Removal
Splinters are unique injuries. Sometimes you notice them right away, like a paper cut. Other times, it could be days before you locate that dull ache on your finger or toe.
The body registers splinters as a foreign body and it’ll respond as an attempt to remove it. If you wait too long, it can cause an infection and prompt you toward urgent care.
To avoid that situation, prepare yourself with these DIY splinter removal hacks.
How to Remove a Splinter
First, assess how deep your splinter lives below the skin. That will inform the best tools and tricks to remove it.
The most important thing is to sterilize everything. That includes washing your hands, tweezers, needles, or anything that’ll be going into your skin. Rubbing alcohol does the trick and helps avoid infection.
Depending on your location, your resources may vary. If you’re an active outdoors person, it’s smart to develop a splinter removal kit for future incidents.
The following things can help splinter removal.
- Hydrogen peroxide
- Baking soda
- White vinegar
- Duct tape
- Epsom salt
If you’re a first-time splinter extractor, you’ll likely find one of these resources somewhere. There are other creative hacks involving banana peels, eggshells, and other options if you’re in a bind.
Having a magnifying glass nearby can ensure you get to the root of it.
Pro Splinter Removal
The more you learn what works for deep splinter removal, the less threatened you’ll be by getting them. Better yet, splinter removal practice can help you live your most daring, uninhibited life.
Complex splinters throw a wrench in things, so here’s how to know what to do.
Complex Splinters
Complex splinters happen for many reasons. Whether yours is too deep or you couldn’t get a clean extraction, look out for the following things.
- Redness
- Pus
- Swelling
- Aches
- Aggravation
It can be scary if you’ve pushed the splinter too far in to see it, or only removed a piece of it. The more you probe, the more sensitive it may get so it’s best done quickly.
Infections won’t self-correct so have your doctor close by just in case. Infections call for more removal and medication.
Living Splinter Free
Splinters are tiny burdens to the skin. Not having a deep splinter removal protocol can cause infections and stress. Don’t let a microscopic speck destroy your outdoor adventures.
Safe adventuring means preparation. What will you put in your splinter removal kit?
Next time a splinter stumps you, make things easy with a quick trip to urgent care. Reserve your spot in line now so you can be splinter-free.